

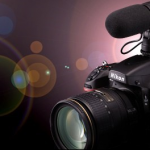
The Sony Alpha a6000 is a super-compact mirrorless camera that’s about half the size and weight of a typical DSLR, yet it has the same size APS-C sensor as most DSLRs. The interchangeable lenses and E-mount system make the a6000 more versatile than almost any other camera on the market.
Video Mode : AVCHD: PS – 1920×1080/60p @28Mbps FX – 1920×1080/60i @24Mbps FH – 1920×1080/60i @17Mbps FX – 1920×1080/24p @24Mbps FH – 1920×1080/24p @17Mbps MP4: HD – 1440×1080/30fps @12Mbps, VGA – 640×480/30fps @3Mbps
Video Format : AVCHD Ver. 2.0 / MP4 (MPEG-4 AVC (H.264))
Audio Format : Dolby Digital (AC-3) / MP4: MPEG-4 AAC-LC, 2ch
You got some AVCHD video files shot by the Sony Alpha a6000 camera, and you want to import these AVCHD video files to FCP X/7/6 for personal editing. But to be disappointing, you can’t import Sony Alpha a6000 1080P AVCHD to Final Cut Pro directly because the FCP can not support 6P/60i AVCHD files well. If you want to import Sony a6000 AVCHD/MTS footage into FCP X, FCP 7 and FCP 6 for edit, you need to convert a6000 AVCHD files to FCP supported file like Apple ProRes 422 MOV and Apple ProRes 4444 MOV.
Though Sony A6000 can shot the wonderful moments for us with a high definition image, how can we edit AVCHD footage recorded by Sony A6000 in some hot NLEs like FCP/Avid/Premiere, etc? For most editing software don’t support AVCHD very well, sometimes we meet can’t import, images without sound, sound with no images and etc issues. To make the Sony A6000 AVCHD recordings natively supported by editing tools and edit and AVCHD freely, we should convert AVCHD to other programs’ accepted formats with the help of third-party software. We here highly recommend you Pavtube Video Converter / Mac Version. With it, you can effortlessly encode AVCHD footage for smoothly importing and editing in various non-linear editing systems including FCP/Avid/Premiere.
Key Feature of Pavtube Video Converter
- Professional video converter: This video converter supports converting 150+ video formats. You can use it to convert avchd to all the formats supported by various of non-linear editing systems.
- High output video quality: The converted videos are in high quality. It will keep 100% orginal video quality.
- Fastest Conversion Speed: It can batch convert videos at 30X fastest speed than almost all the competitors.
- Great video editing tool: You can use it to enhance your video by adding effects, or edit your video by merging, rotating, trimming, etc.


First free download and install Pavtube Video Converter on your Mac or Windows, and then launch it. Now just follow the step by step guide to make editing Sony Alpha a6000 AVCHD work more smoothly.
Step 1: Install and launch this program. Just drag and drop video files to the main interface of the program to add Sony Alpha a6000 AVCHD videos. If you have several video files that you want to convert in batch, just drag the folder where the sources are to the software.
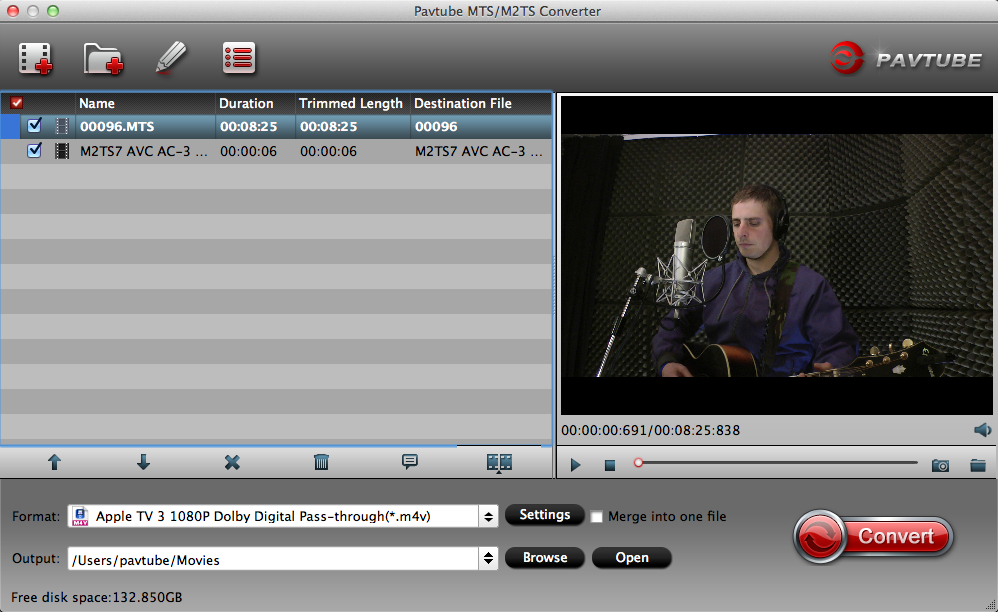
Step 2: Click the “Format” drop-down menu to choose an output format that you prefer.
From “Format” drop-down lists, you can select Avid Media Composer preferable editing codec from “Avid Media Composer” > “Avid DNxHD(*.mov)” as the output format.

Click “Format” bar, from its drop-down options, move your mouse to “Final Cut Pro > Apple ProRes 422 (*.mov)” to select it as the output file format.

From the “Format” drop-down list, go to select “Adobe Premiere Pro/Sony V…” >”MPEG-2″ as the most suitable output format for Adobe Premiere Pro.

Step 3: Before converting, you can edit the Sony Alpha a6000 AVCHD footage to achieve a better overall effect. Simply highlight a video clip and click the “Edit” button beside it to enter the Video Edit window. You can then crop, trim, rotate videos, adjust Canon recordings effects, add text/image watermarks, etc. as you like.
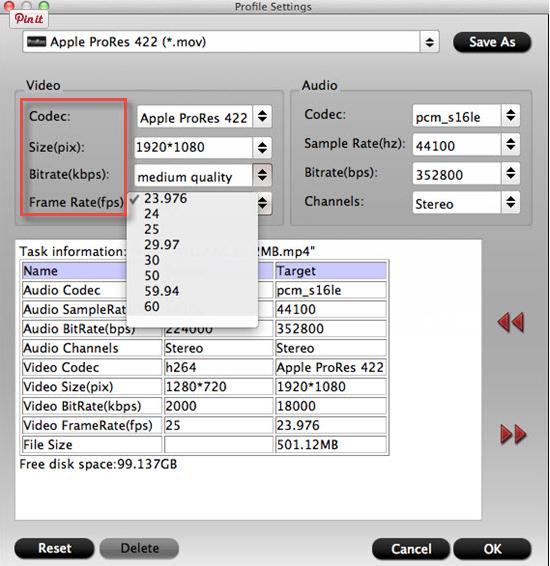
Or you can open “Profile Settings” window to adjust the output video codec, size, bit rate, frame rate, audio codec, sample rate, bit rate and channels. Here i just give a Apple ProRes as the example, others for Avid and Premiere are nearly the same.
Step 4: Hit the convert button under the preview windows, the conversion will started immediately.
When the conversion is completed, run the editor and import the converted footage with more smoothly editing.
More from my site
 How to Edit an Interchangeable Lens Camera Recorded Video?
 Convert H.265 Files to Apple Prores 4444
 Edit Sony PDW-700 XDCAM MXF with Movie Studio 13 Platinum
 Encode/Decode H.265 Files to PS4 for Playing
 QuickTime MOV to Grass Valley Edius Pro 7 Workflow
 Play Any Video on New iPad 2017/iPad Mini 5/iPad Pro Mini


