

For those people who have created a video in iMovie, you may have the need to play the iMovie project on Windows Movie Maker, however, it seems that none of the exported format options by iMovie such as AVI, MPEG-4, QuickTime movie, DV stream, etc are natively formats supported by Windows Movie Maker. Fortunately, with the assistance of a video conversion app, you can easily generate Windows Movie Maker supported WMV files. The following article will you through the steps to convert iMovie project to Windows Movie Maker WMV video with a free solution.

Export your project from iMovie
Before converting iMovie project to Windows Movie Maker WMV, you will first need to export your iMovie project to local Mac computer with the steps below:
1. In iMovie, open the project or select it in the Project Library, and then choose Share > Export Movie.
The Share menu appears in a light gray bar across the top of your computer screen.
2. Type a name for the movie in the Export As field.
3. Choose the location where you want to save it from the pop-up menu.
If the location you want doesn’t appear in the pop-up menu, click the blue Arrow button to the right of the Save As field, and then navigate to the desired folder.
Select the size of movie that best matches what you’ll be using the video for.
5. Click Export.
6. To find your exported movie, navigate to the folder that you chose from the pop-up menu.
Convert iMovie project to Windows Movie Maker WMV video
Here, you can free convert iMovie project to Windows Movie Maker native compatible WMV video with Pavtube Free Video DVD Converter Ultimate. Different from other lower quality online video conversion tool which will trick you into installing adware or spyware, this free tool is very clean and safe that feature any ads or bundled adware, therefore, just feel free to download and install it on your computer. It can assist you to batch load iMovie project files and then produce Windows Movie Maker readable WMV files in various file formats and resolutions. If you care much about quality, you can output iMovie project to a high quality wmv with VC-1 code. If you care much about conversion process, just choose to output a wmv file with wmv2 codec which will ensure a fast conversion speed. Besides that, if your original iMovie project is created with high resolution, the program also allows you to create HD WMV video with high standard definition.
Adjust output profile parameters
Click “Settings” on the main interface to open “Profile Settings” window, here, you can flexibly choose or specify exactly the parameters including video codec, resolution, bit rate, frame rate, audio codec, bit rate, sample rate, channels, etc as you like to get better output video and audio quality.
Pavtube Free Video DVD Converter Ultimate is quite simple to use, any one can learn to use it in minutes. The batch conversion mode can assist you to batch load multiple video to save you a lot of time. The generated files by this free program are high quality, you can’t tell the difference between the output video and the original Windows Movie Maker files.


How to Convert iMovie Project to Windows Movie Maker WMV Video?
Step 1: Load iMovie Project exported files.
Download this free Video Converter. Install and Launch it on your computer. Click “File” menu and select “Add Video/Audio” or click the “Add Video” button on the top tool bar to import iMovie Project exported files into the program.

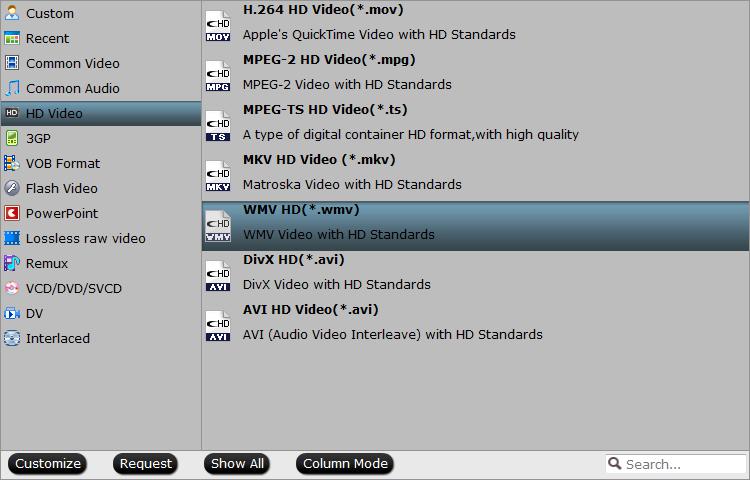
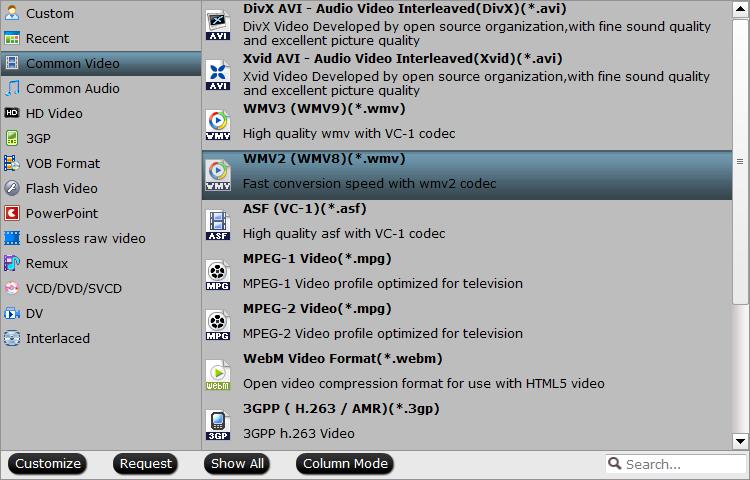
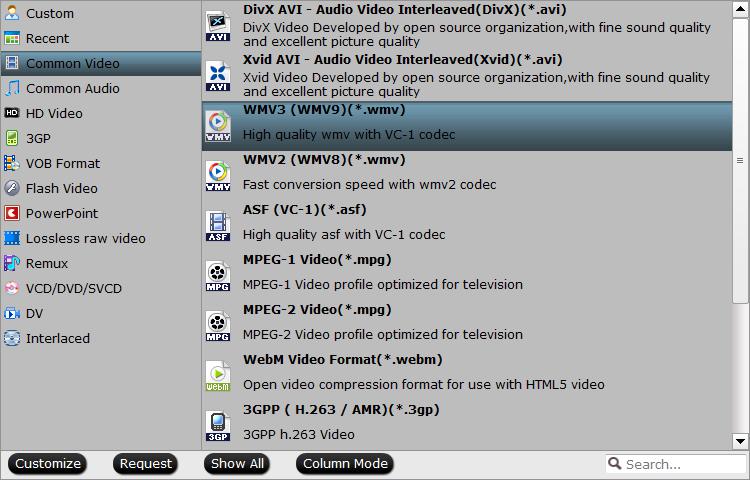
Step 2: Define the output format.
Clicking the Format bar, from its drop-down list, choose one of your desired Windows Movie Maker file formats according to your own needs.
Output to high quality WMV video with VC-1 codec
Fast conversion speed with wm2 codec
Output HD WMV video
Tips: Open “Profile Settings” window, here all the profile parameters including video codec, resolution, bit rate, frame rate, audio codec, bit rate, sample rate, channels, etc are adjustable to facilitate you to make a balance between the video quality and the file size.
Step 3: Begin the conversion process.
After all setting is completed, hit right-bottom “Convert” button to begin the conversion from iMovie project to Windows Movie Maker WMV format conversion process.
When the conversion is completed, click “Open Output Folder” icon on the main interface to open the folder with generated files. Then feel free to play and edit the WMV video with Windows Movie Maker.
More from my site
 Best Microsoft Video Editor – Easily and Precisely Edit Video on Windows 10/8
 Convert and Import M2T to iMovie for Editing
 Export iMovie Video to MP4 on Mac
 Best 5 Prore Converter – Decode/Encode Prores on Windows 10
 Free Convert Windows Movie Maker Files to AVI
 How to Free Convert/Play/Edit Videos on Mac with MPEG Streamclip?


